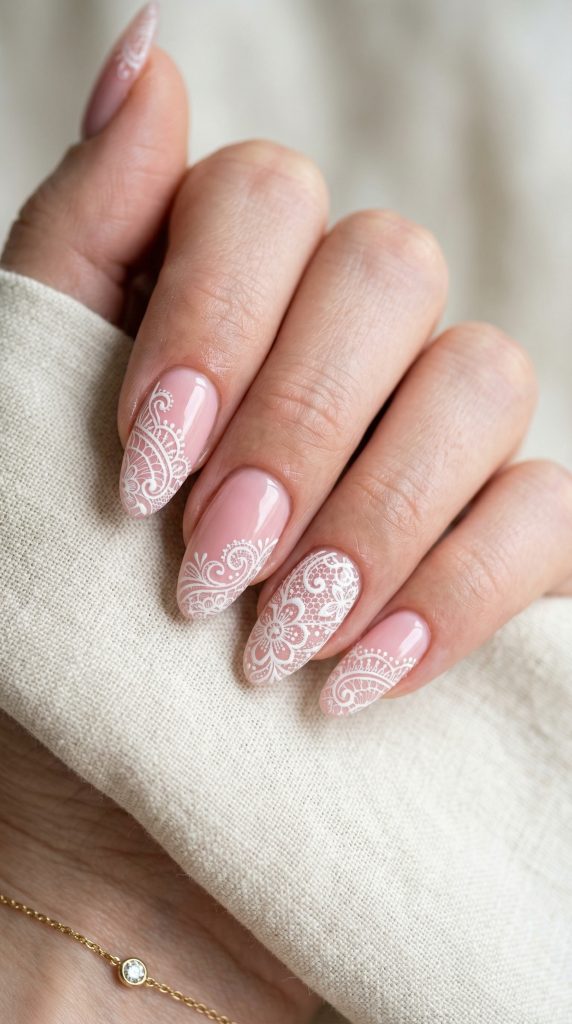
How to Create Lace Nail Art with Builder Gel
Lace nail art is taking over Pinterest in 2026. With search growth of +215% , this delicate, romantic design is exactly what your followers are looking for. But here’s the challenge: lace patterns require precision, and regular nail polish often smudges or loses detail before you can finish.
That’s where builder gel changes everything.
In this complete guide, I’ll teach you how to create lace nail art with builder gel — from choosing the right tools to mastering the technique—even if you’ve never attempted nail art before. By the end, you’ll be creating salon-quality lace designs that last for weeks.
We’ll cover everything from nail preparation and cuticle care to advanced encapsulation techniques and gel curing methods. You’ll also learn about nail art brushes, dotting tools, and how to achieve that perfect high-gloss finish that makes lace designs pop.
Let’s start with why builder gel is the secret weapon for lace nail art.
Why Builder Gel Is Perfect for Lace Nail Art
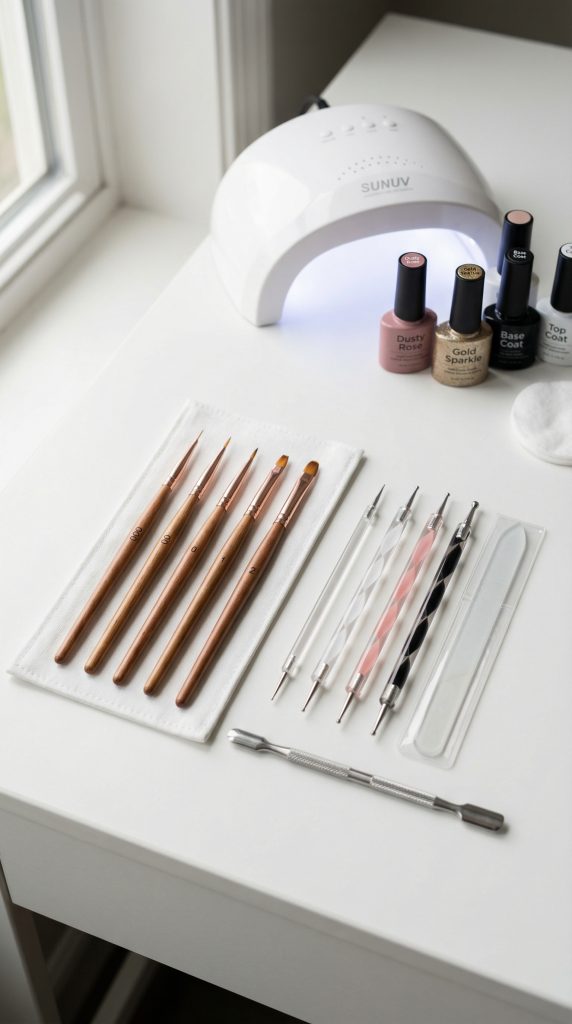
Before we dive into technique, you need to understand why builder gel outperforms regular polish for detailed designs. The gel nail system offers unique advantages that make intricate nail art designs achievable for beginners.
The Self-Leveling Advantage
Builder gel is thicker than regular polish and self-levels as you apply. This means:
- Your lace lines stay exactly where you place them
- No bleeding or spreading like liquid polish
- Cleaner, sharper edges on intricate patterns
- Better control for detailed nail art
No Smudging Between Layers
With regular polish, adding a second color often smudges the first. Builder gel cures instantly under an LED lamp, so each layer hardens completely before you add the next. This is game-changing for multi-step lace designs and layering techniques.
Built-In Strength and Longevity
Lace nail art takes time and effort. You want it to last. Builder gel creates a hard, protective layer that prevents chipping and keeps your lace design intact for 2–3 weeks. Understanding what is builder gel helps you appreciate why it’s the ideal base for detailed art.
For those new to gel systems, builder gel also provides nail strengthening benefits that regular polish can’t match. It’s essentially a protective overlay that shields your natural nails while showcasing your artistry.
Tools You’ll Need for Lace Nail Art
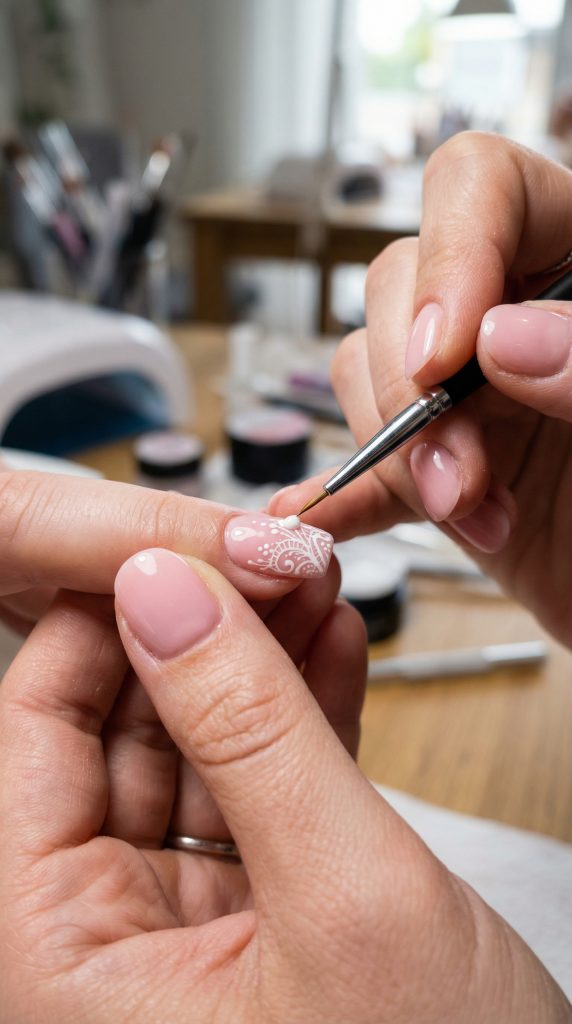
Success with lace nail art depends on having the right tools. Here’s exactly what you need for professional nail art results at home.
Essential Brushes
| Brush Type | Purpose | Recommended Size |
|---|---|---|
| Detail liner brush | Creating thin lace lines | Size 00 or 000 |
| Short striper brush | Straight lines and curves | Size 0 |
| Dotting tool | Lace dots and flowers | Double-ended set |
| Flat brush | Base color application | Size 4–6 |
| Fan brush | Ombre effects | Small size |
Builder Gel Products
- Base color gel – Soft pink, nude, or sheer white work best
- White builder gel – For the lace pattern (pigmented enough to show clearly)
- Clear builder gel – For encapsulating and protecting the design
- No-wipe top coat – For final shine
- Rubber base – For extra adhesion on problem nails
Equipment Checklist
- LED/UV lamp (48 watts minimum)
- Lint-free wipes
- Isopropyl alcohol (91% or higher)
- Cuticle pusher (wooden or metal)
- Glass nail file
- Nail buffer (2400+ grit)
- Cuticle oil for aftercare
Optional but Helpful
- Nail art stencils for practice
- Practice hand with fake nails
- Magnifying lamp for detailed work
- Nail dehydrator for oily nail beds
For those interested in gel nail extensions, the same tools work beautifully for creating longer lace canvas nails.
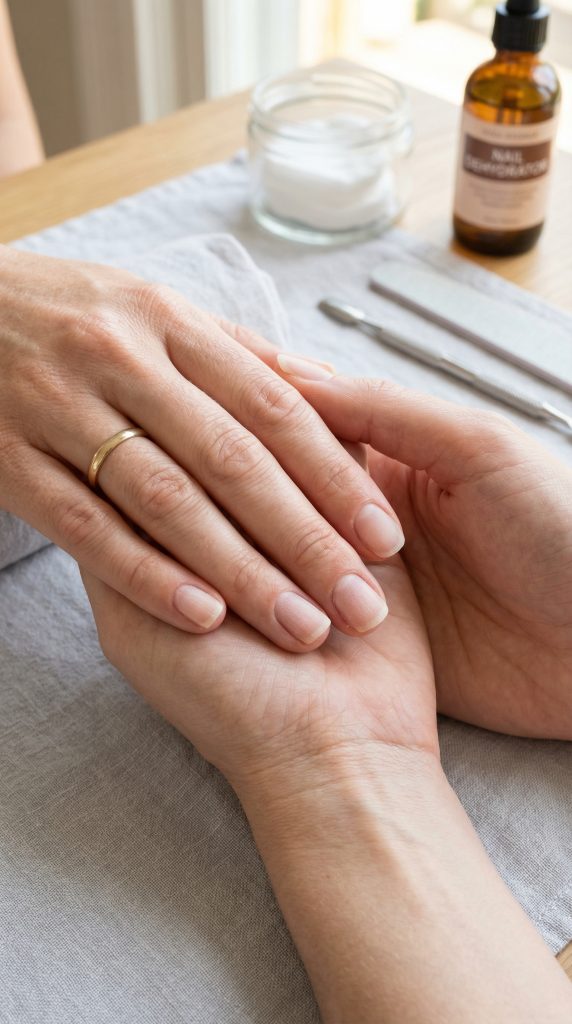
Preparing Your Nails for Lace Art
Proper prep determines whether your lace design lasts 3 days or 3 weeks. Don’t skip these steps. Nail preparation is the foundation of every successful manicure.
Step 1 – Shape and Buff
- File nails to your desired shape (almond or oval complements lace designs beautifully)
- Gently buff the nail surface to remove shine
- This creates “tooth” for the gel to adhere to
- Remove all dust with a clean brush
Step 2 – Cuticle Care
- Push back cuticles gently with a wooden stick
- Never cut living cuticle tissue
- Remove any invisible cuticle from the nail plate with a cuticle remover
- Use cuticle oil after pushing to nourish the area
Step 3 – Dehydrate and Prime
- Wipe each nail with alcohol or nail dehydrator
- Apply a thin layer of nail primer if your nails are prone to lifting
- Wait 30 seconds for primer to dry completely
- Avoid touching the nail surface after prepping
Step 4 – Check for Oily Spots
Some nail beds produce more natural oil than others. If you notice shiny spots after dehydrating, wipe again with alcohol and a lint-free pad. This nail dehydration step is crucial for preventing lifting.
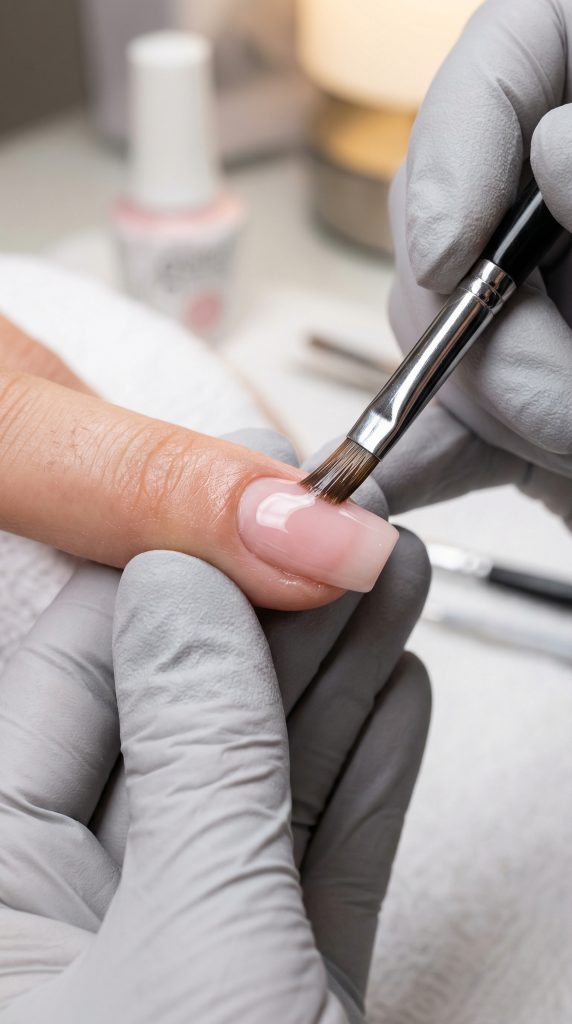
Applying Your Builder Gel Base
The base layer sets the stage for your lace design. Here’s how to do it right for gel nail application.
Thin Layers Are Key
- Apply a thin layer of builder gel (color of your choice)
- Avoid flooding cuticles or sidewalls
- Cap the free edge by brushing gel over the nail tip
- Use the “floating” technique—let the brush barely touch the nail
Curing Times
- Cure under LED lamp for 30–60 seconds (follow your gel brand’s instructions)
- The surface should feel dry and hard
- If tacky, that’s normal for some gels—don’t wipe yet
- LED curing times vary by brand and lamp wattage
Second Layer (Optional)
For more opacity, apply a second thin layer and cure again. This creates a smooth, even canvas for your lace art. This gel overlay technique also adds strength to natural nails.
Checking for Perfect Smoothness
After curing, run your finger gently over the surface. It should feel like glass. Any bumps or lint will show through your lace design. If needed, gently buff and apply another thin layer.
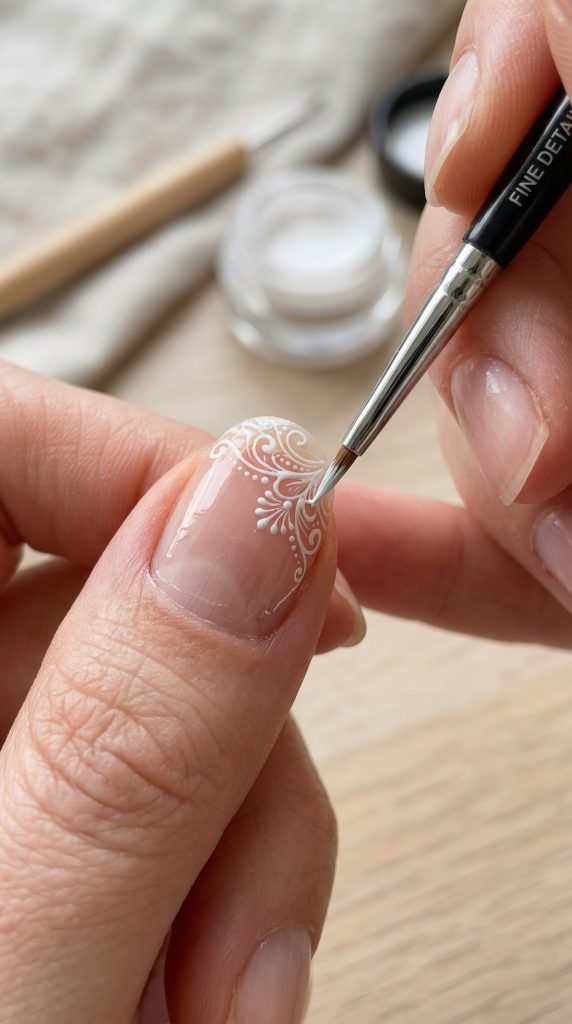
Understanding Lace Patterns for Nails
Before you paint, you need a mental map of what lace looks like and how it translates to nail art design. Lace patterns draw from traditional textile patterns and fabric texture inspiration.
Common Lace Pattern Elements
- Floral motifs – Small roses, flowers, leaves
- Geometric shapes – Diamonds, circles, mesh patterns
- Scrolls and curves – Elegant swirling lines
- Dotted details – Tiny dots that mimic lace texture
- Border edges – Decorative trim along the nail tip
- Venetian lace – Heavier, more ornate patterns
- Chantilly lace – Fine, delicate mesh with floral elements
Choosing Your First Pattern
For beginners, start with:
- Simple mesh pattern (crosshatch lines)
- Single floral accent on each nail
- Lace tip border only
- Minimalist nail art approach with one element per nail
Save full-coverage lace for your dominant hand once you’ve practiced. You can also explore french manicure variations with lace tips for an elegant hybrid look.
Pattern Scaling Tips
- Smaller nails need simpler patterns
- Longer nails can handle more detail
- Practice on paper first at actual nail size
- Take photos of real lace and zoom in for reference
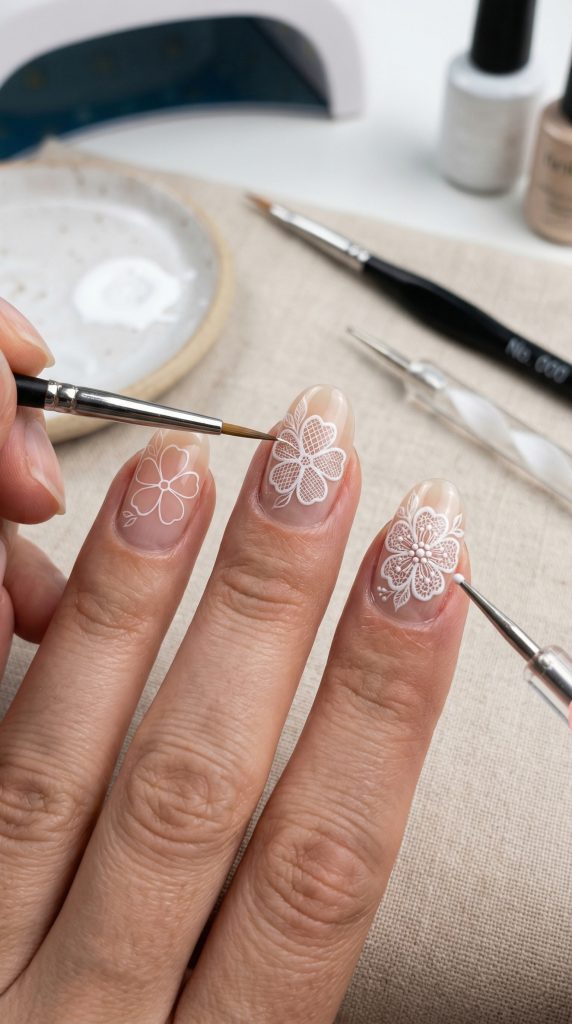
Step-by-Step: Painting Lace with Builder Gel
Now for the main event. Follow these steps exactly for hand-painted nails that look professionally done.
Step 1 – Map Your Design
- Dip your detail brush into white builder gel
- Wipe excess on a palette (don’t overload)
- Paint the main structural lines of your lace first
- Work slowly, supporting your painting hand against something stable
- Start with the largest elements, then add smaller details
Step 2 – Add Details
- Switch to a smaller brush for intricate elements
- Add flower petals, scrolls, or mesh lines
- Keep lines thin—they’ll look more delicate
- Don’t worry about perfection; lace is naturally irregular
- Use dotting techniques for texture points
Step 3 – Dotting Accents
- Use a dotting tool to add tiny dots
- Dots create the “fabric” texture of lace
- Place them at line intersections or as flower centers
- Vary dot sizes for visual interest
Step 4 – Cure Between Colors
If you’re adding multiple colors:
- Cure for 30 seconds after white layer
- Add additional colors (like gold or black accents)
- Cure again
- Gel polish color layers must be fully cured before adding more
Step 5 – Check for Balance
Step back and look at all nails together. Does the lace distribution feel balanced? You can always add more dots or lines to even things out before the final cure.
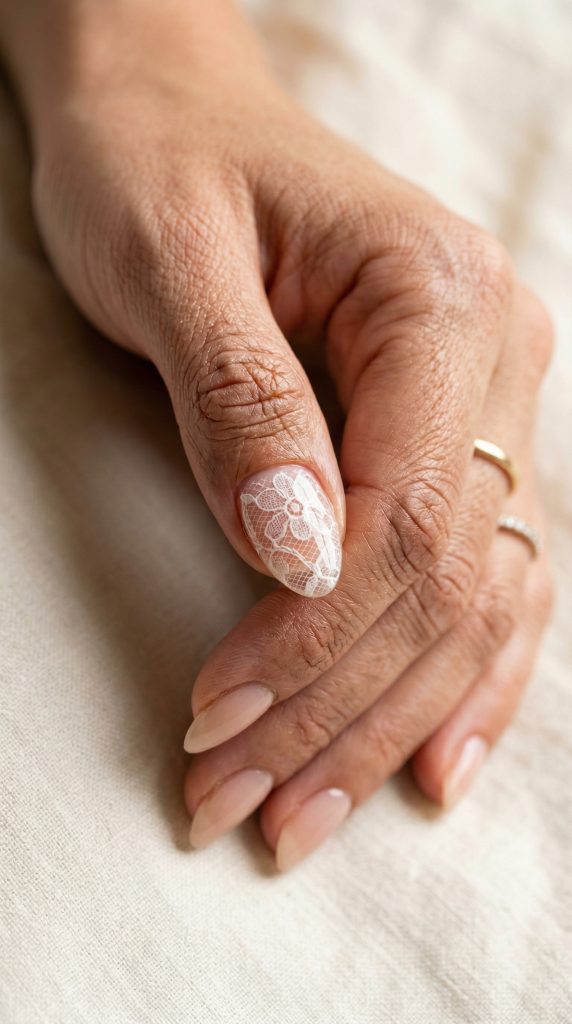
Encapsulating Your Lace Design
Encapsulation is what makes builder gel lace designs last for weeks instead of days. This gel encapsulation technique creates a protective coating that seals your art.
Why Encapsulate?
- Protects the delicate lace from chipping
- Creates a smooth, glass-like surface
- Adds depth and dimension to your design
- Prevents snagging on hair and clothing
- Extends manicure longevity significantly
How to Encapsulate
- Apply a thin layer of clear builder gel over the entire nail
- Make sure the lace is completely covered
- Cap the free edge again
- Cure for 60 seconds
- Repeat with a second thin layer if needed for thickness
- Check for any uncovered areas
The lace will now appear suspended under a clear dome—beautiful and protected. This 3D nail art effect adds professional polish to your work.
Troubleshooting Encapsulation
- If bubbles appear, your layer was too thick
- If the lace smears, it wasn’t fully cured before encapsulation
- If the surface isn’t smooth, gently buff and add another thin layer
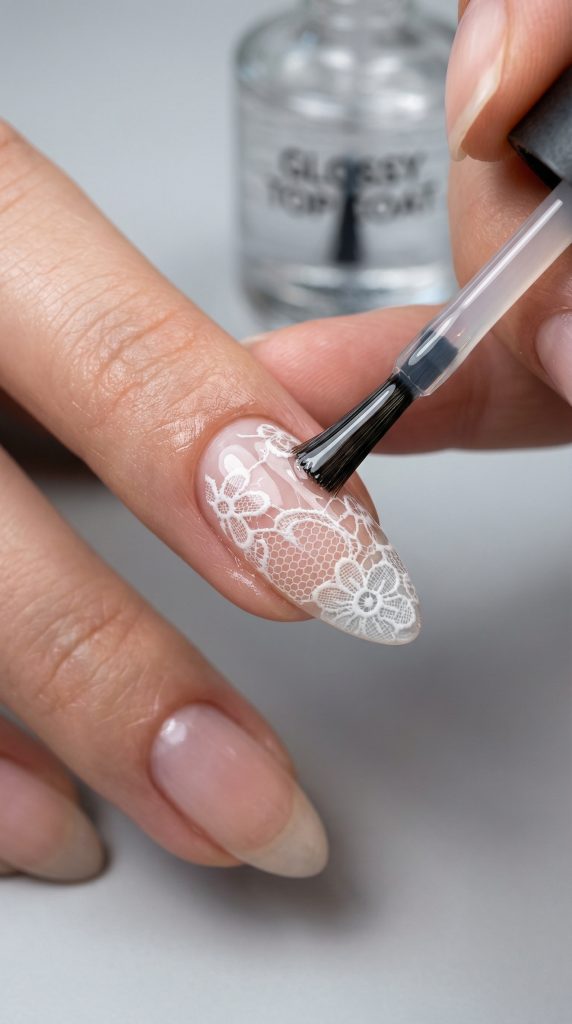
Finishing with Top Coat
The final step determines your manicure’s shine and longevity. Gel top coat application requires precision for that perfect high-gloss finish.
Choosing Your Top Coat
- No-wipe top coat – Cures to a shiny finish without sticky residue
- Wipe-off top coat – Requires alcohol wipe after curing
- Matte top coat – For a modern, velvety finish (optional)
- Glitter top coat – Not recommended—it will hide your lace
Application Tips
- Apply a generous but even layer
- Cap the free edge thoroughly
- Don’t brush too much—once is enough
- Cure according to manufacturer instructions
- Check for even coverage before curing
Final Wipe (If Needed)
If using a wipe-off top coat:
- Wait until nails are completely cool
- Wipe with alcohol and lint-free pad
- Admire your glossy, lace-adorned nails
- Apply cuticle oil to nourish surrounding skin
The Cured Finish Test
After curing, run a cotton ball over the nail. If it glides smoothly, your top coat is properly cured. If it snags or feels sticky, cure for another 30 seconds.
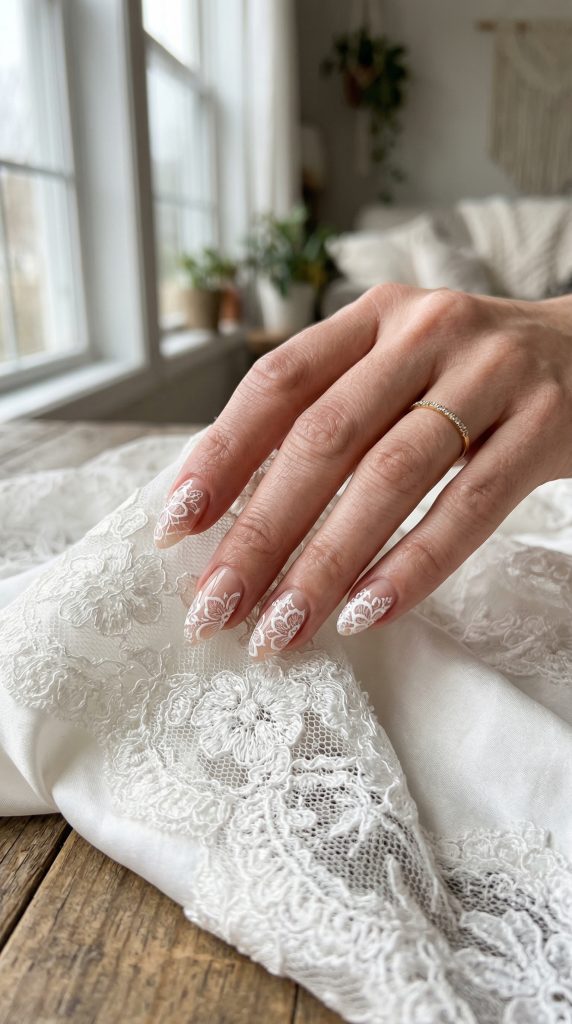
Lace Nail Art Variations to Try
Once you master the basic technique, experiment with these popular variations. Each offers a different take on trendy nail designs.
Colored Lace Designs
- Paint lace in gold, silver, or black instead of white
- Use colored builder gel for a bold contrast
- Match lace color to your outfit or accessories
- Try rose gold nails with white lace for warmth
Negative Space Lace
- Leave parts of the nail bare
- Paint lace only on half the nail
- Creates a modern, minimalist look
- Perfect for summer nail ideas and lighter feels
French Tip Lace
- Paint a classic French tip first
- Add delicate lace patterns along the tip edge
- Combines two trends in one manicure
- Elegant for wedding nails and bridal parties
Ombre Lace Background
- Create a gel ombre base first
- Paint lace over the gradient
- The lace stands out beautifully against the fade
- Try pink to white ombre with white lace
Accent Nail Lace
- Paint lace on just one or two nails per hand
- Keep other nails simple in matching color
- Perfect for beginners or subtle looks
- Great for short nail designs where full lace might overwhelm
Holiday Lace Themes
- Valentine’s Day nails with heart-shaped lace elements
- Christmas nails with snowflake-inspired lace
- Halloween nails with dark lace on orange or black
- Seasonal variations keep your content fresh
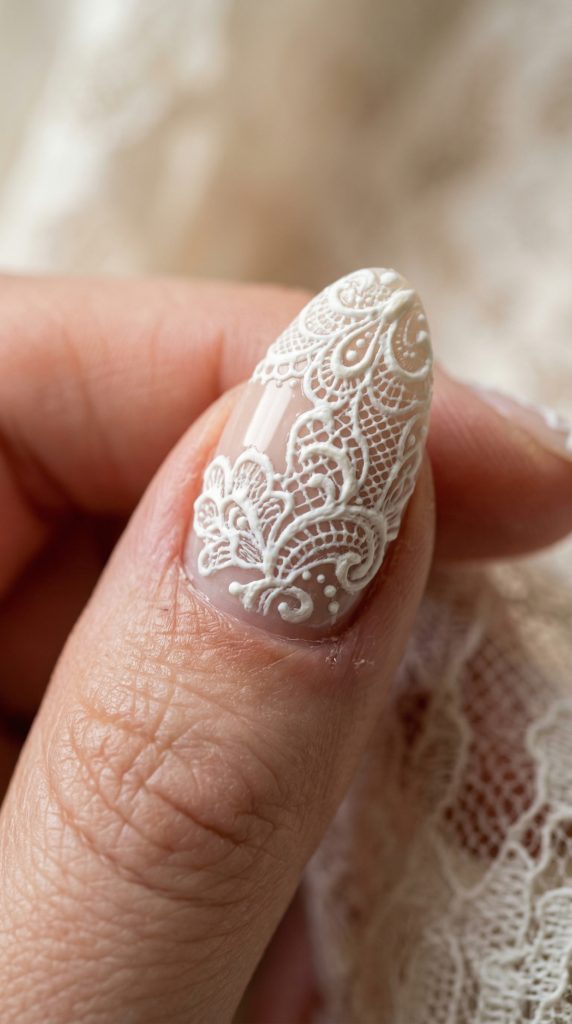
Troubleshooting Common Lace Art Problems
Even experienced artists encounter issues. Here’s how to fix them. Understanding these nail art techniques will save you frustration.
Problem: Lace Lines Are Too Thick
Solution:
- Use a finer brush (size 000)
- Wipe more excess gel on your palette
- Practice on a fake nail tip first
- Thin your builder gel with a few drops of gel cleanser if needed
Problem: Builder Gel Bleeds Under Curing
Solution:
- Cure in shorter intervals (15–20 seconds)
- Use a thicker consistency builder gel for details
- Work in a cooler room (heat thins gel)
- Ensure your base layer is fully cured
Problem: Lace Design Looks Messy
Solution:
- Simplify your pattern
- Focus on one element per nail
- Use dotting tools for precise dots
- Remember: lace is naturally irregular—embrace imperfection
- Check our guide on how to make your nails grow faster for healthy nail bases that make art easier
Problem: Design Lifts After Few Days
Solution:
- Review your prep steps
- Ensure you capped the free edge
- Avoid water exposure for first 24 hours
- Apply cuticle oil daily
- Consider our article on pink nail designs for base color inspiration that works with any pattern
Problem: Colors Look Dull
Solution:
- Use opaque builder gel for base colors
- Apply white underneath light colors
- Check your top coat—some dull pigments
- Try a different brand with higher pigment load
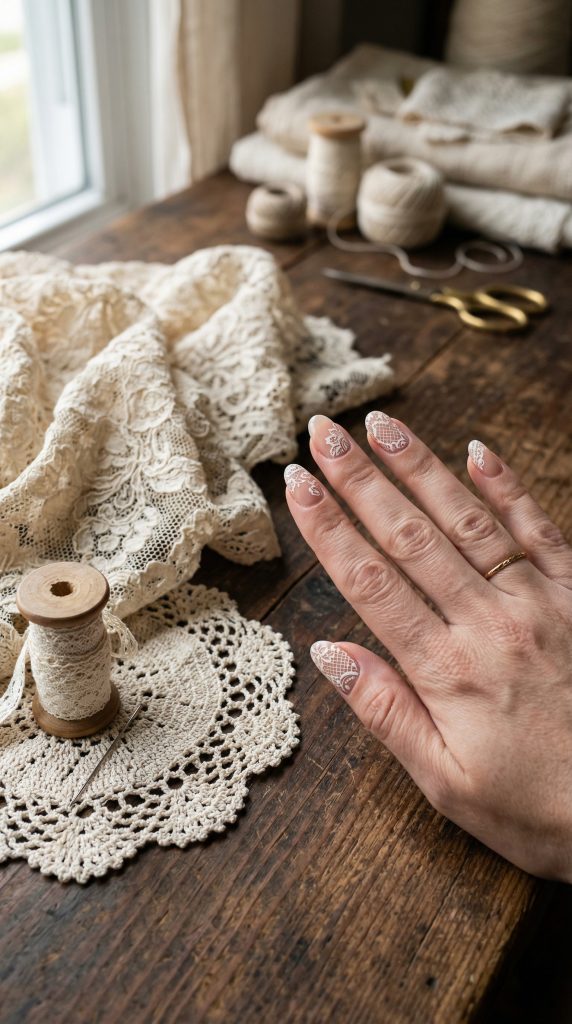
Finding Lace Pattern Inspiration
You don’t need to invent lace patterns from scratch. Inspiration is everywhere. This nail art inspiration will keep your designs fresh.
Real Lace Sources
- Examine lace fabric, doilies, or ribbons
- Photograph interesting patterns with your phone
- Zoom in to see how threads weave together
- Visit fabric stores for pattern ideas
- Study vintage clothing lace details
Pinterest and Social Media
- Search “lace nail art” for thousands of examples
- Save patterns that appeal to you
- Notice which elements repeat across designs
- Follow nail art influencers for fresh ideas
- Check Pinterest nail trends for emerging patterns
Practice Sheets
- Draw lace patterns on paper first
- Practice with a brush and water on a tile
- Build muscle memory before painting nails
- Create a swipe file of patterns you love
Nature Inspiration
- Look at leaf veins, flower petals, and snowflakes
- These natural patterns translate beautifully to lace
- Try botanical lace with leaf motifs
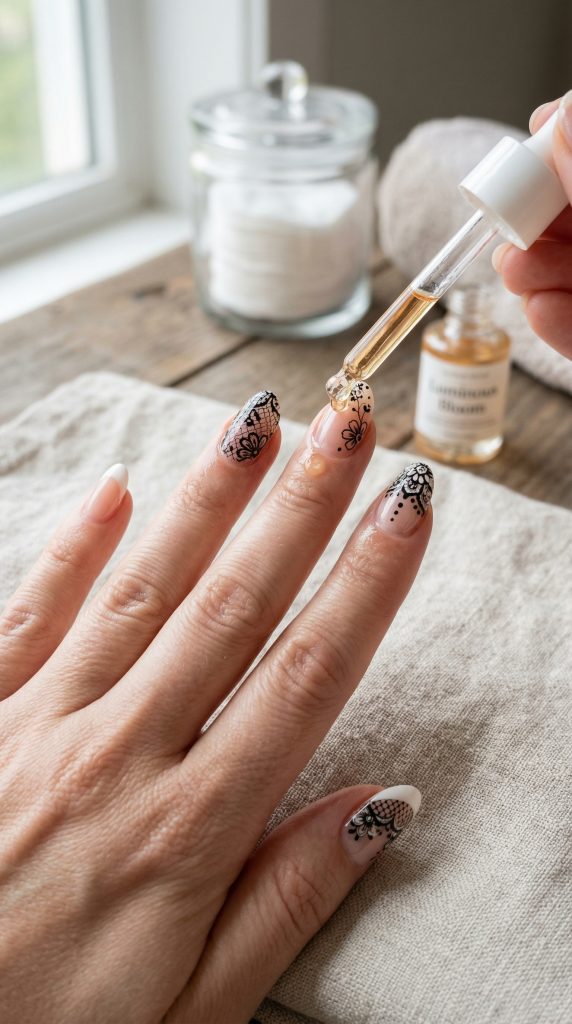
Maintaining Your Lace Nail Art
Your beautiful lace design deserves proper care to last. Nail care routine matters as much as the initial application.
Daily Maintenance
- Apply cuticle oil morning and night
- Wear gloves for dishes and cleaning
- Avoid using nails as tools
- Moisturize hands after washing
- Use hand cream with SPF during the day
Weekly Check
- Inspect for lifting at edges
- If you see lifting, don’t pick—file gently
- Apply another thin top coat if needed (ensure it’s gel-compatible)
- Check for any chips or snags
When to Refresh
Most builder gel manicures last 2–3 weeks. After that:
- Growth at cuticles becomes visible
- Consider a fill or new design
- Always soak off properly—never peel
- Give nails a break between applications
Protective Measures
- Keep nails at a moderate length for durability
- Avoid extreme temperatures
- Be gentle during activities that stress nails
- Consider pink builder gel nails for a low-maintenance but pretty option between art designs
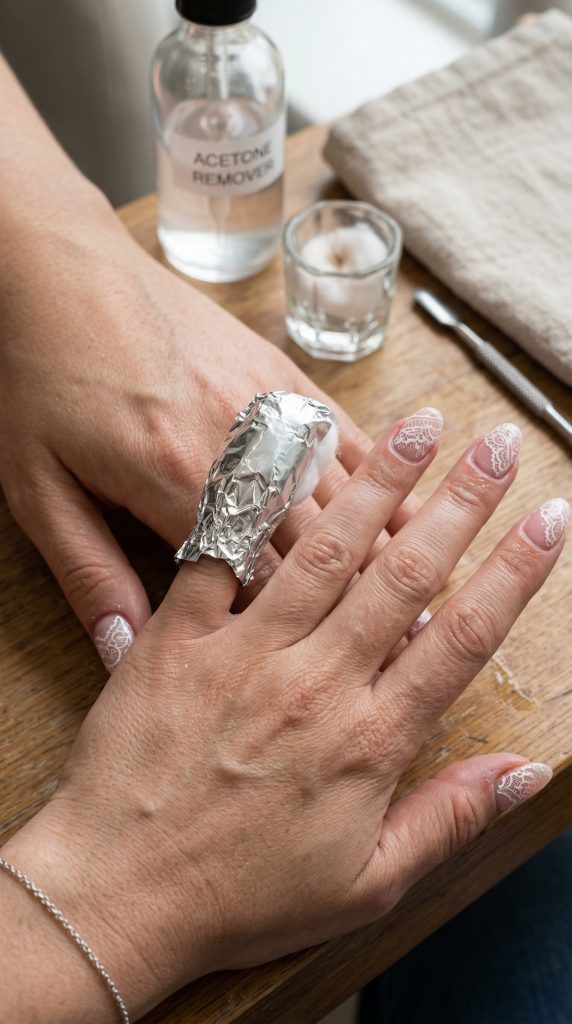
Removing Lace Builder Gel Nails Safely
When you’re ready for a new design, removal matters as much as application. Gel nail removal done incorrectly damages natural nails.
The Soak-Off Method
- Gently buff the shiny top coat layer
- Soak cotton balls in pure acetone
- Place cotton on each nail
- Wrap with foil to hold in place
- Wait 10–15 minutes
- Check progress – gel should slide off easily
- Gently push remaining gel with wooden stick
- Never scrape or force – this damages natural nails
Professional Removal Tips
- Use pure acetone, not acetone blends
- Keep wraps on for full duration
- If gel doesn’t budge, rewrap for 5 more minutes
- Work in a well-ventilated area
Aftercare
- Wash hands thoroughly
- Apply cuticle oil generously
- Give nails a break between applications
- Use nail strengthener if needed
- Check our guide on builder gel nails for information on healthy reapplication cycles
Signs of Damage
If nails feel thin, bendy, or painful after removal:
- Take a longer break from gels
- Use strengthening treatments
- Keep nails short until they recover
- Consult a doctor if pain persists

Frequently Asked Questions
How long does lace nail art with builder gel take?
For beginners, plan 1.5–2 hours for a full set. As you practice, you’ll speed up to 45–60 minutes. The time investment is worth it for 2–3 weeks of beautiful, durable nails. Advanced artists can complete a set in 30–40 minutes.
Can I use regular nail polish for lace art with builder gel?
You can, but it won’t last as long. Regular polish sits on top of gel and may peel. For best results, use colored builder gel or gel polish for both base and design. This ensures proper adhesion and longevity.
Do I need a special brush for lace nail art?
Yes, invest in quality detail brushes. Size 00 or 000 liner brushes make all the difference. Cheap brushes with stray bristles will ruin your delicate lines. Brands like Kolinsky sable offer superior control.
How do I make my lace design symmetrical across all nails?
Perfection isn’t the goal with lace. Slight variations make designs look organic and handcrafted. Focus on consistent elements—like all nails having similar density of pattern—rather than identical copies. Your hands will look beautifully coordinated, not robotic.
Will lace nail art work on short nails?
Absolutely! Lace patterns can be scaled down for shorter nails. Try simple border designs or small floral accents rather than full-coverage lace. Delicate patterns actually look beautiful on short, natural nails. Check our short nail designs for more ideas that work with limited length.
Can I combine lace with other nail art trends?
Yes! Lace pairs beautifully with chrome nails (try chrome tips with lace), cat eye nails (lace over magnetic gel), and even glitter nails (use glitter as an accent with lace on other nails). The key is balance—don’t overwhelm the delicate lace.
What if I make a mistake during painting?
Mistakes happen! Here’s the fix:
- If uncured, wipe with alcohol and start that section over
- If partially cured, file gently and reapply
- If fully cured, encapsulate the mistake and paint over it
- Remember: tiny imperfections aren’t visible from normal viewing distance
Conclusion: Your Lace Nail Art Journey
Learning how to create lace nail art with builder gel opens up endless creative possibilities. This delicate, romantic style is trending for good reason—it’s versatile, beautiful, and surprisingly achievable with the right technique.
Remember the key steps:
- Prepare nails thoroughly – good prep prevents lifting
- Use quality tools – fine brushes make delicate lines possible
- Work in thin layers – cure between each step
- Encapsulate your design – protect your hard work
- Practice regularly – each attempt gets easier
The lace nail art trend shows no signs of slowing down. With +215% search growth on Pinterest, your followers are actively looking for this content. By mastering this skill, you’re positioning yourself at the forefront of 2026 nail trends.
If you’re new to builder gel entirely, review what is builder gel to understand the foundation of these techniques. Then practice, experiment, and share your creations.
For more inspiration, explore our related articles:
- Pink Nail Designs That Always Go Viral – perfect base color ideas for lace
- How to Make Your Nails Grow Faster – build a healthy canvas for your art
- Builder Gel vs Acrylic – understand your options
Your perfect lace manicure is just a few brush strokes away. Happy painting!

Skilled content writer with more than five years of experience.