You know that feeling when you’ve been scrolling through Pinterest for an hour, saving gorgeous anime and cartoon nail art, only to look down at your own hands and think… “But my nails are short. There’s no way I can pull that off.”
I’ve been there. For years, I assumed character nail art was reserved for long, dramatic extensions. Every inspo photo seemed to feature stiletto or coffin shapes with acres of canvas space. Meanwhile, my short, natural nails felt like the wrong canvas entirely.
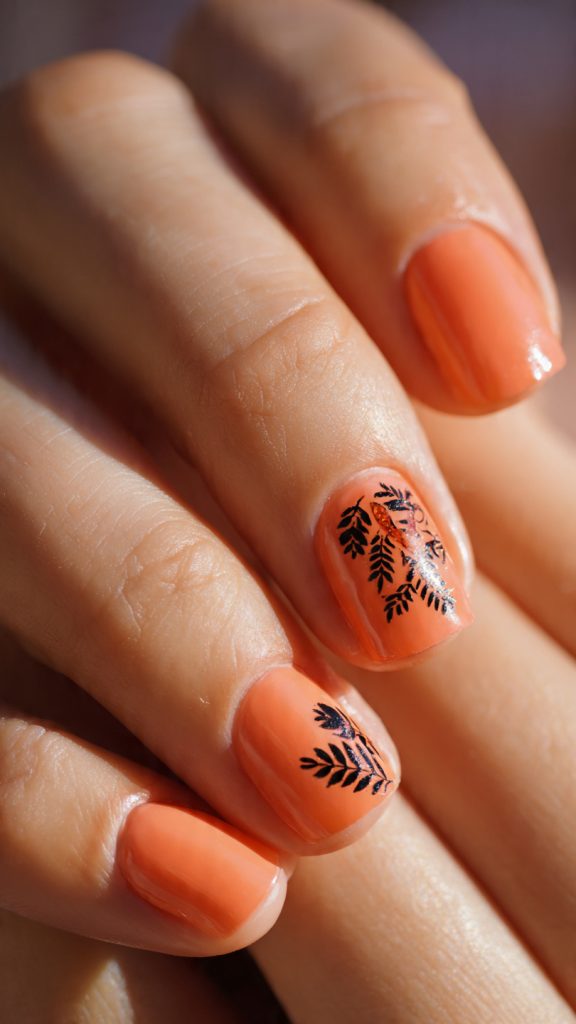
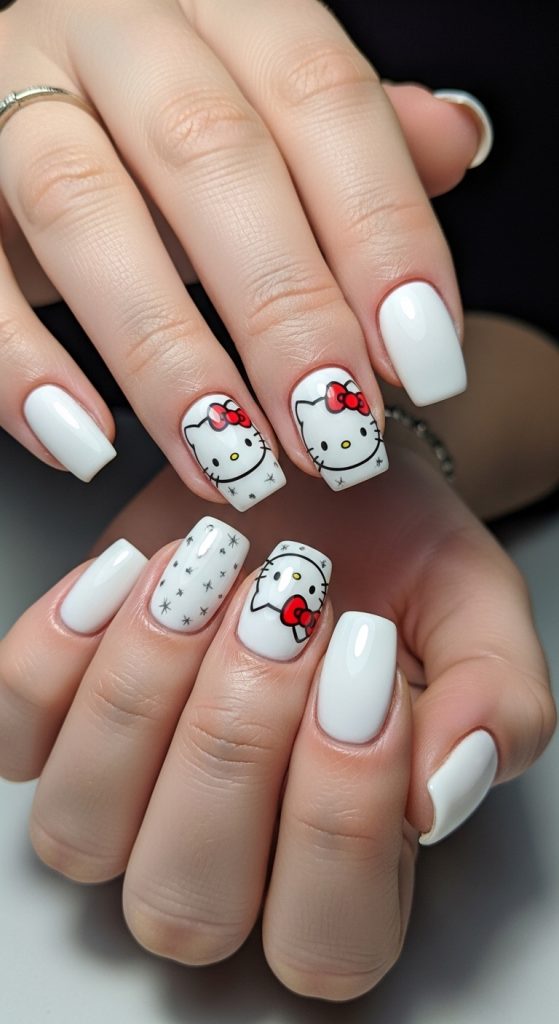
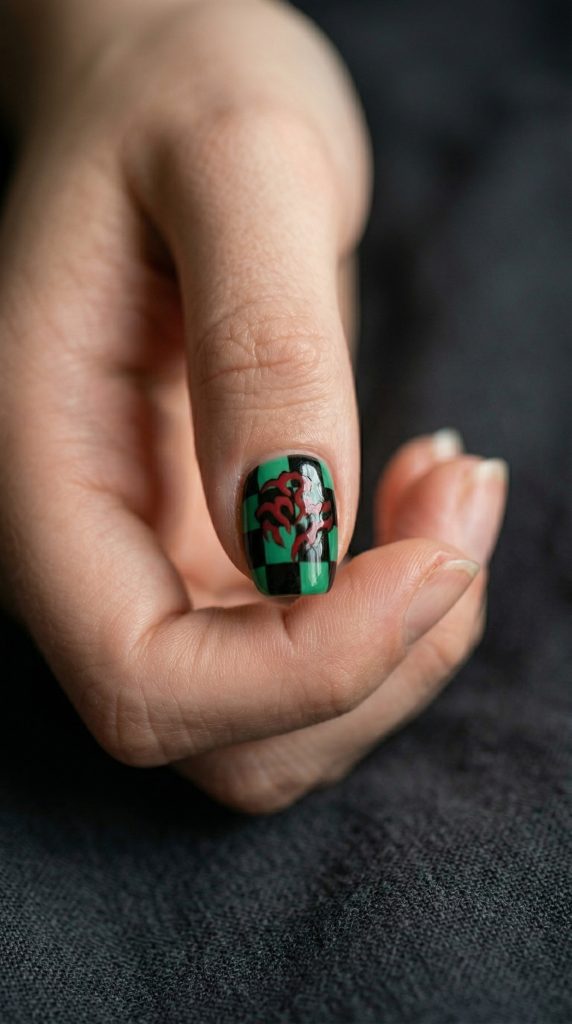
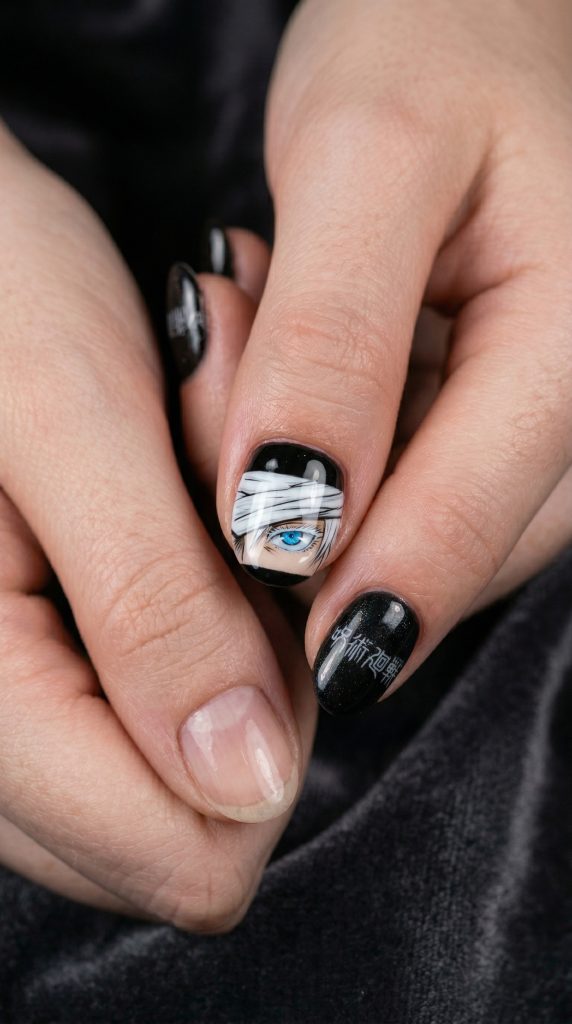
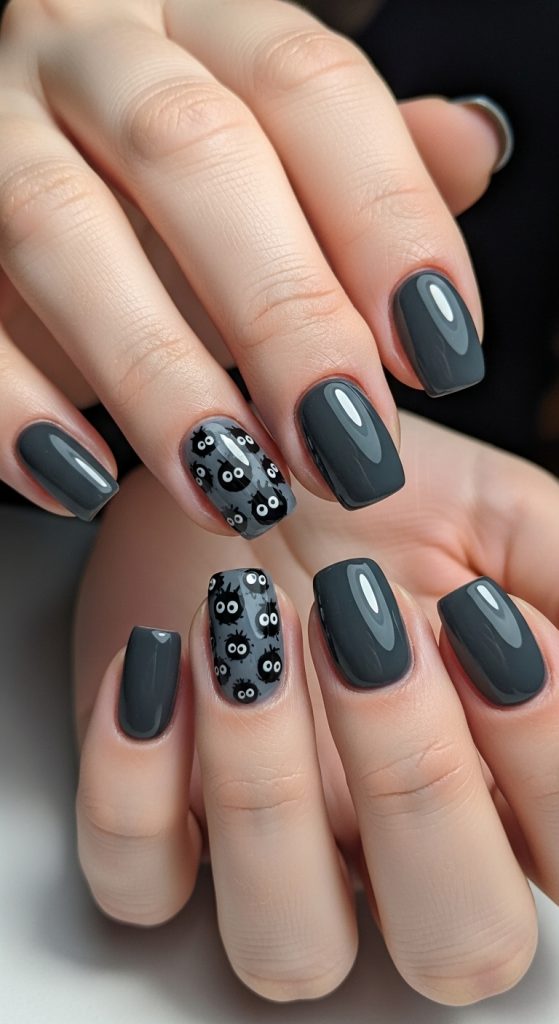
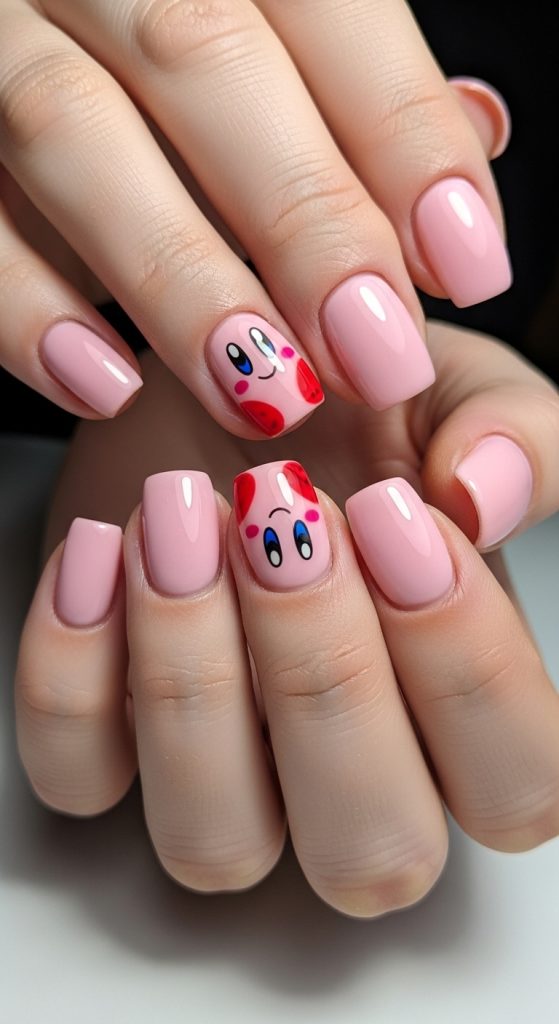
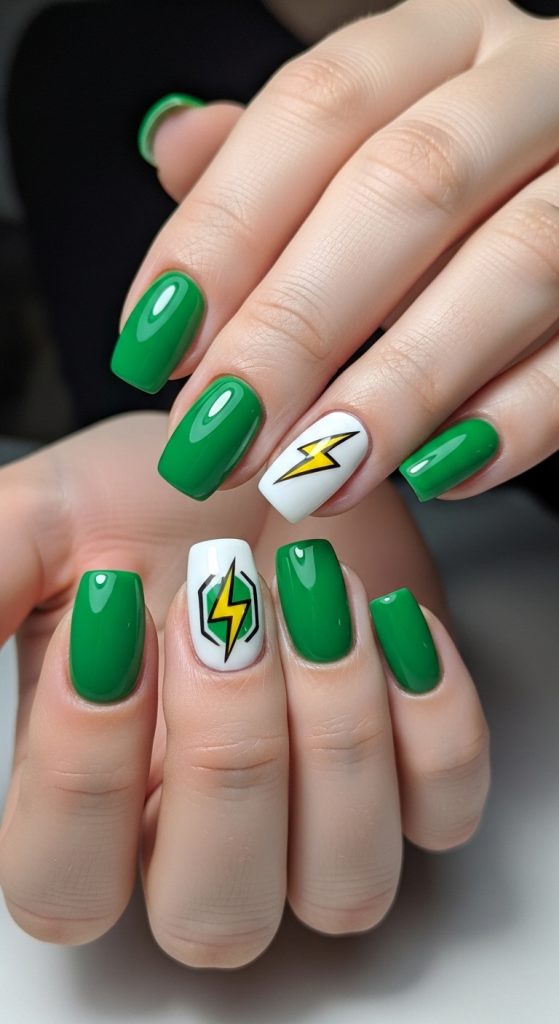
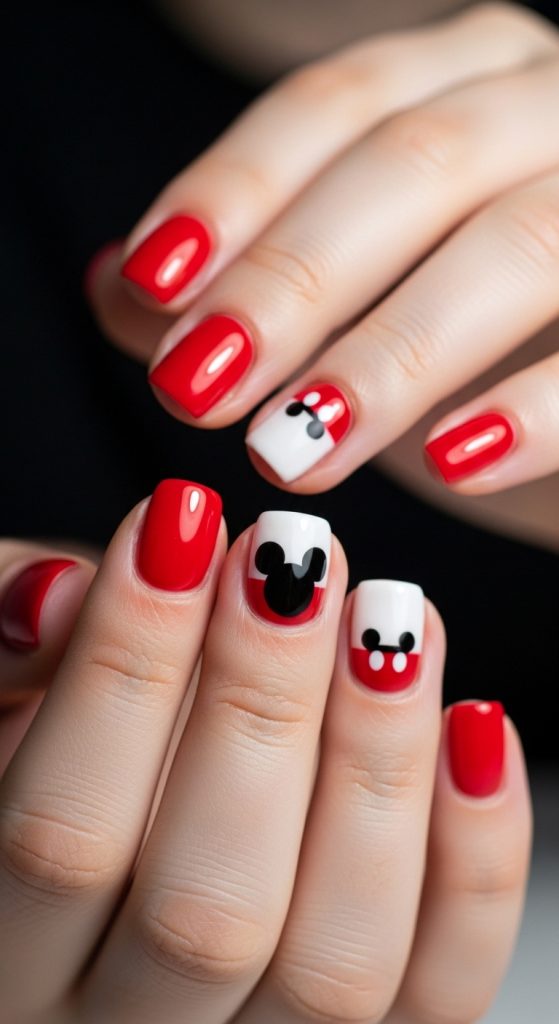
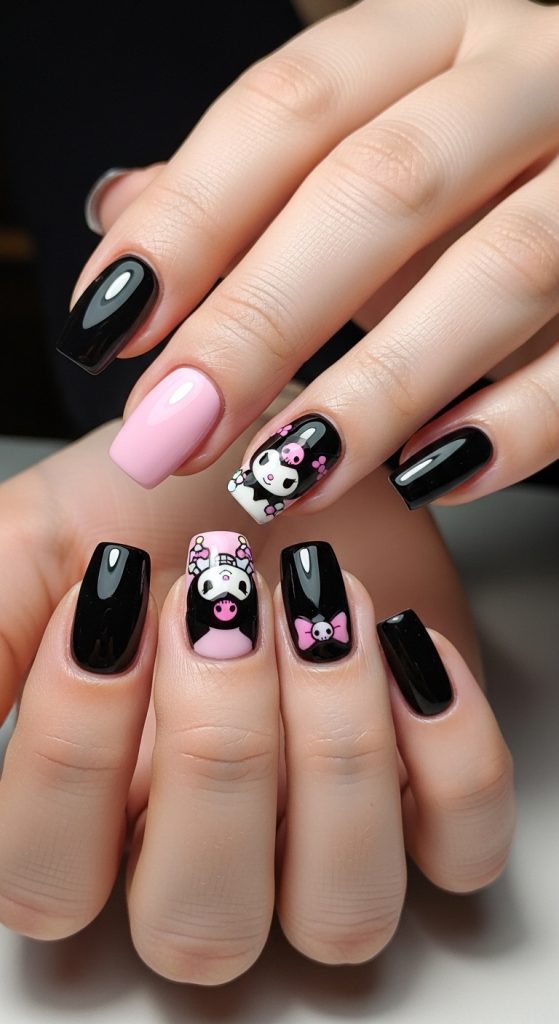
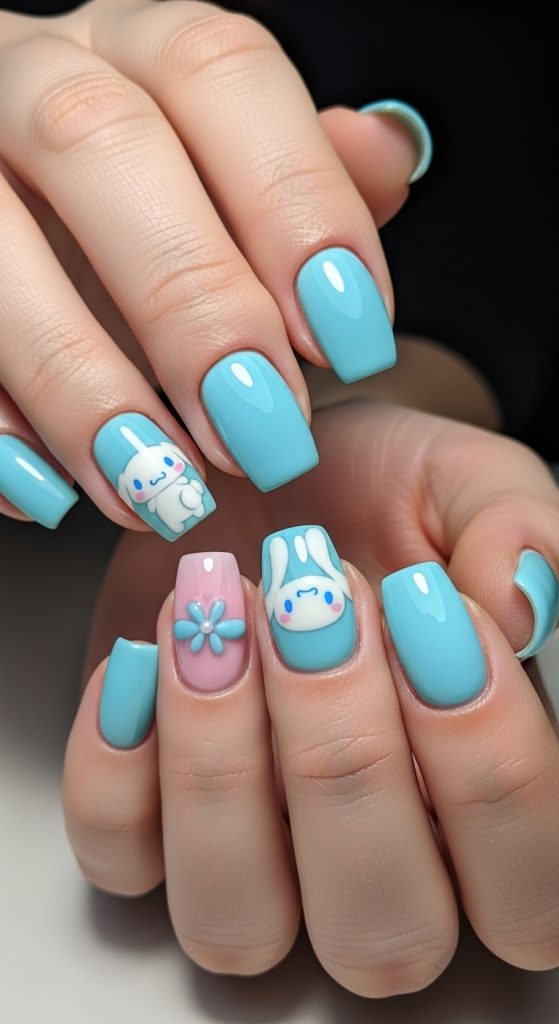
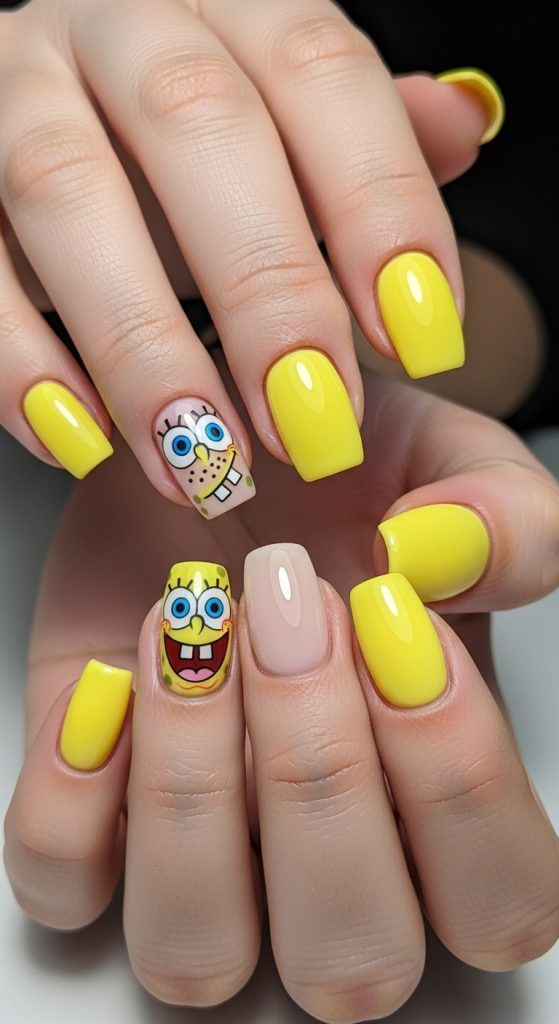
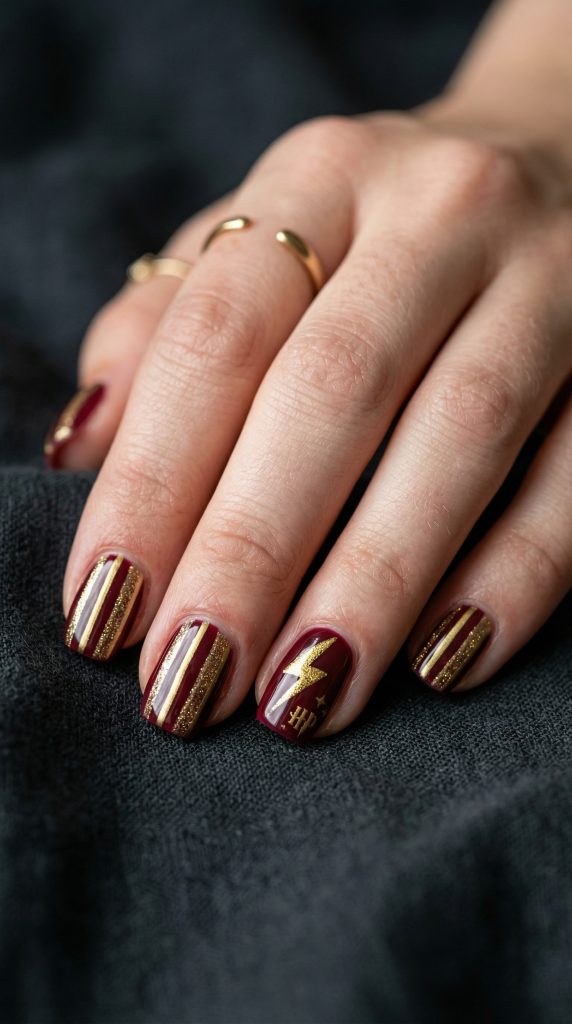
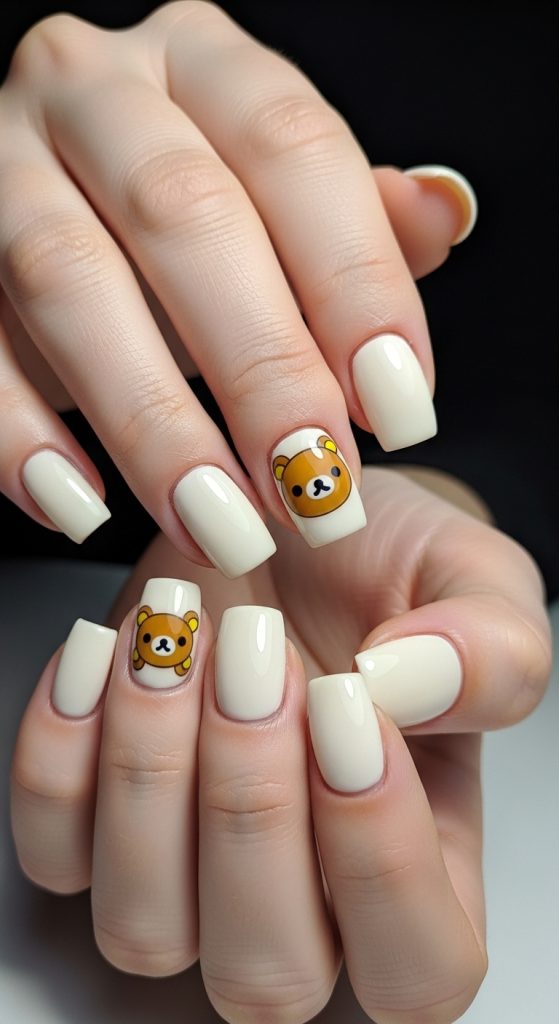
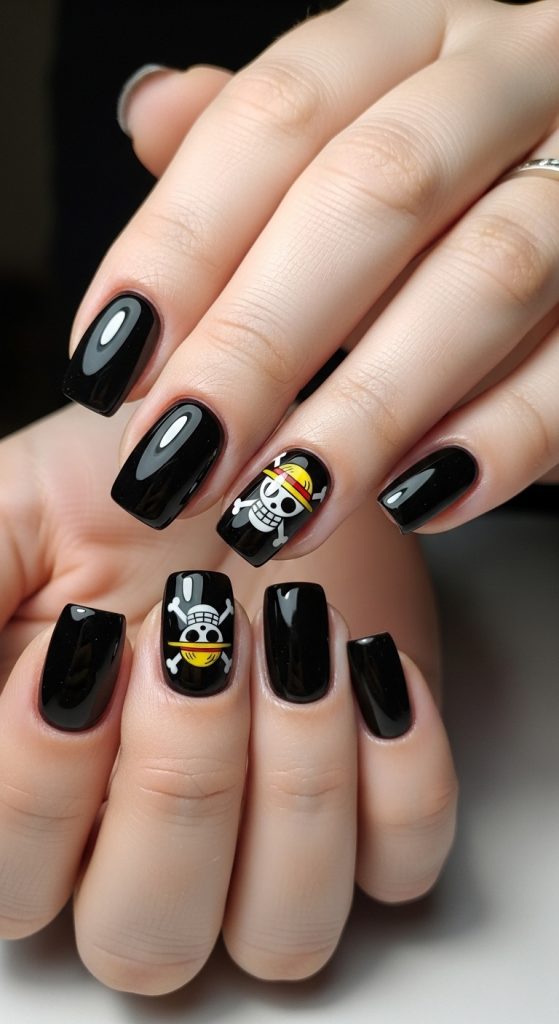
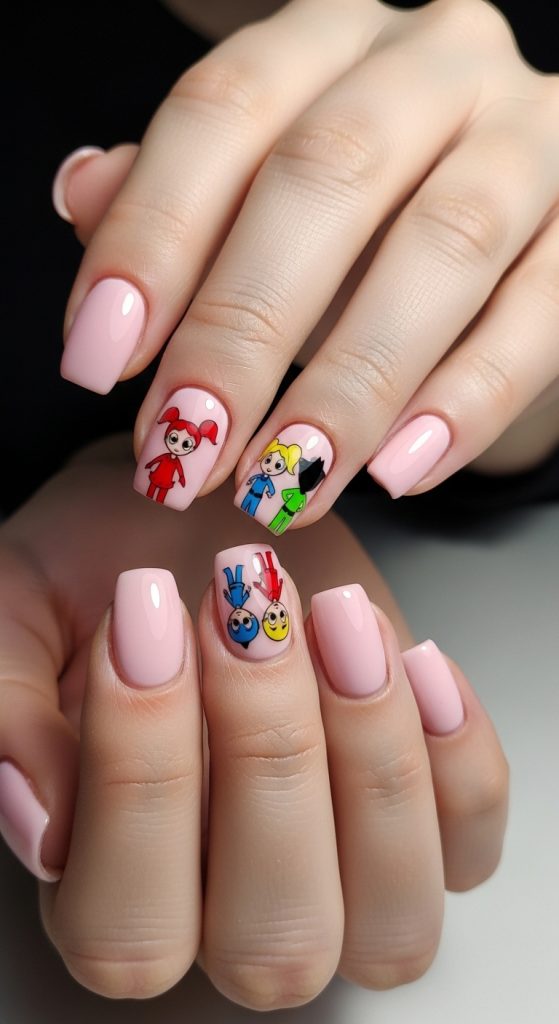
Then one day, I discovered something that changed everything: character accent nails.
It turns out, short nails aren’t a limitation. They’re actually the perfect canvas for strategic, high-impact character art. And in 2026, this approach is becoming the go-to for everyone from busy professionals to dedicated anime fans who want to wear their fandom without the commitment of long extensions.
Let me show you how it works.
Why Character Nail Art Feels Intimidating (And Why It Shouldn’t)
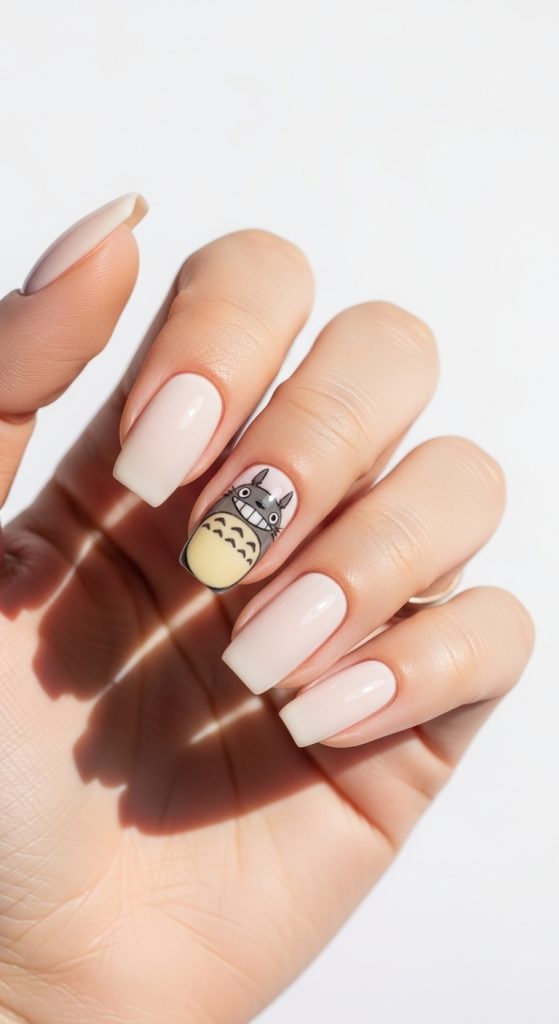
Let’s address the elephant in the room. When most people search for character nail art, they’re met with images of elaborate, full-hand portraits that look like they took hours to paint. It’s easy to assume that’s the only way to do it.
But here’s the truth: character nail art isn’t about covering every nail. It’s about strategically placing personality where it makes the biggest impact.
The Accent Nail Philosophy
Think of it like jewelry. You don’t wear every piece you own at once. You choose one statement piece—a bold necklace or a striking ring—and let it shine. The same logic applies to character nail designs.
By limiting your detailed character art to one or two accent nails per hand, you:
- Simplify the execution dramatically
- Make the design wearable for any occasion
- Extend the life of your manicure (less detailed art means fewer touch-ups)
- Create visual contrast that actually draws more attention to the character art
The 2026 Shift: Why Character Accent Nails Are Trending Now
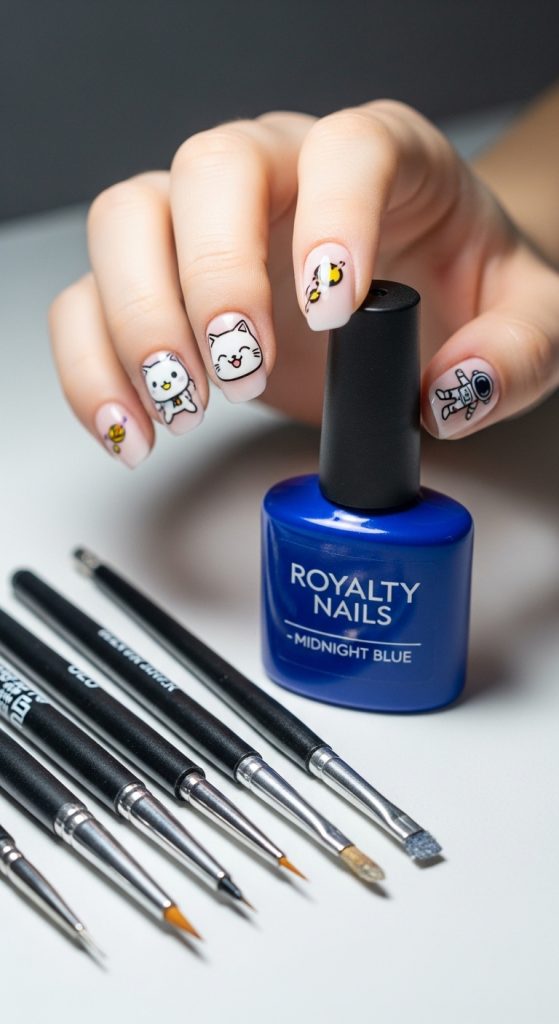
According to Pinterest’s 2026 trend report, searches for “accent nail ideas” have grown by 85% year-over-year, while “character nail art” has seen a 112% increase among Gen Z and millennial users.
Nail artists like Betina Goldstein (known for her editorial micro-nail art) and @nail_unistella (a pioneer of minimalist nail design) have been championing what’s called the “one-stroke” approach—detailed character work confined to a single, strategically placed nail. Even major brands like OPI and CND have released collections this year featuring accent-nail-focused tutorials, signaling that the market is moving toward wearable character art.
What Changed in 2026?
Three factors are driving this shift:
- The “Loud Luxury” Trend: People want to express personality without overwhelming their overall look. A single character nail signals fandom with sophistication.
- Short Nail Acceptance: The “clean girl” aesthetic normalized short, natural nails. Now, those same nails are getting creative upgrades.
- DIY Accessibility: Better nail art tools—like fine-liner brushes, dotting tools, and high-quality decals—have made detailed work possible on any canvas.
Short Nails? Here’s How Character Accent Nails Actually Work
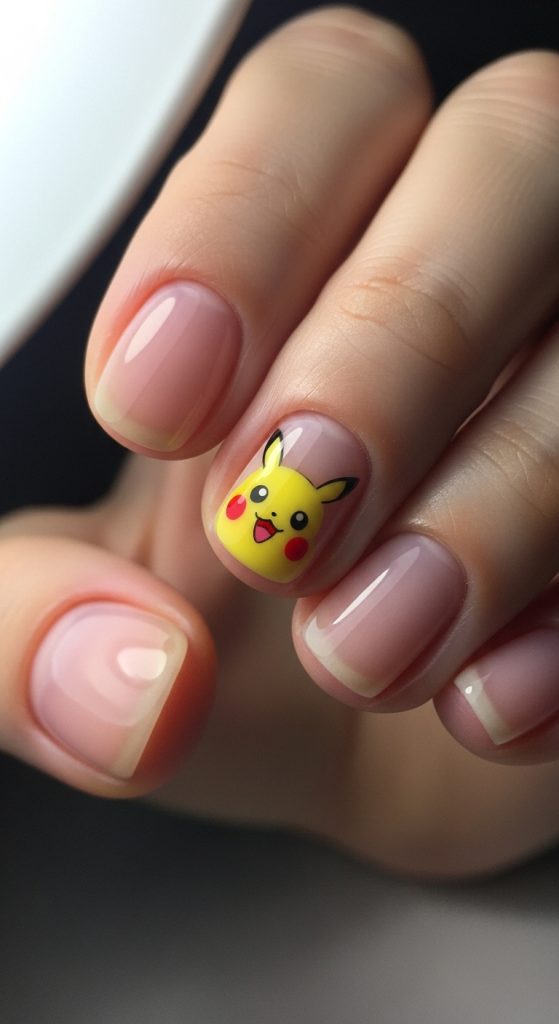
If you’ve been searching character nail art short nails, you’ve probably wondered: Where do I even put the design? The answer depends on your nail shape and length.
Best Placement for Short Nails
| Nail Shape | Best Accent Placement | Why It Works |
|---|---|---|
| Squoval | Center of nail, slightly toward cuticle | Creates focal point without crowding tips |
| Round | Lower third, near free edge | Uses the widest part of the nail canvas |
| Almond (short) | Diagonal or off-center | Follows the natural line of the shape |
| Square | Center or vertical stripe | Balances the blunt edge |
The “Micro” Approach
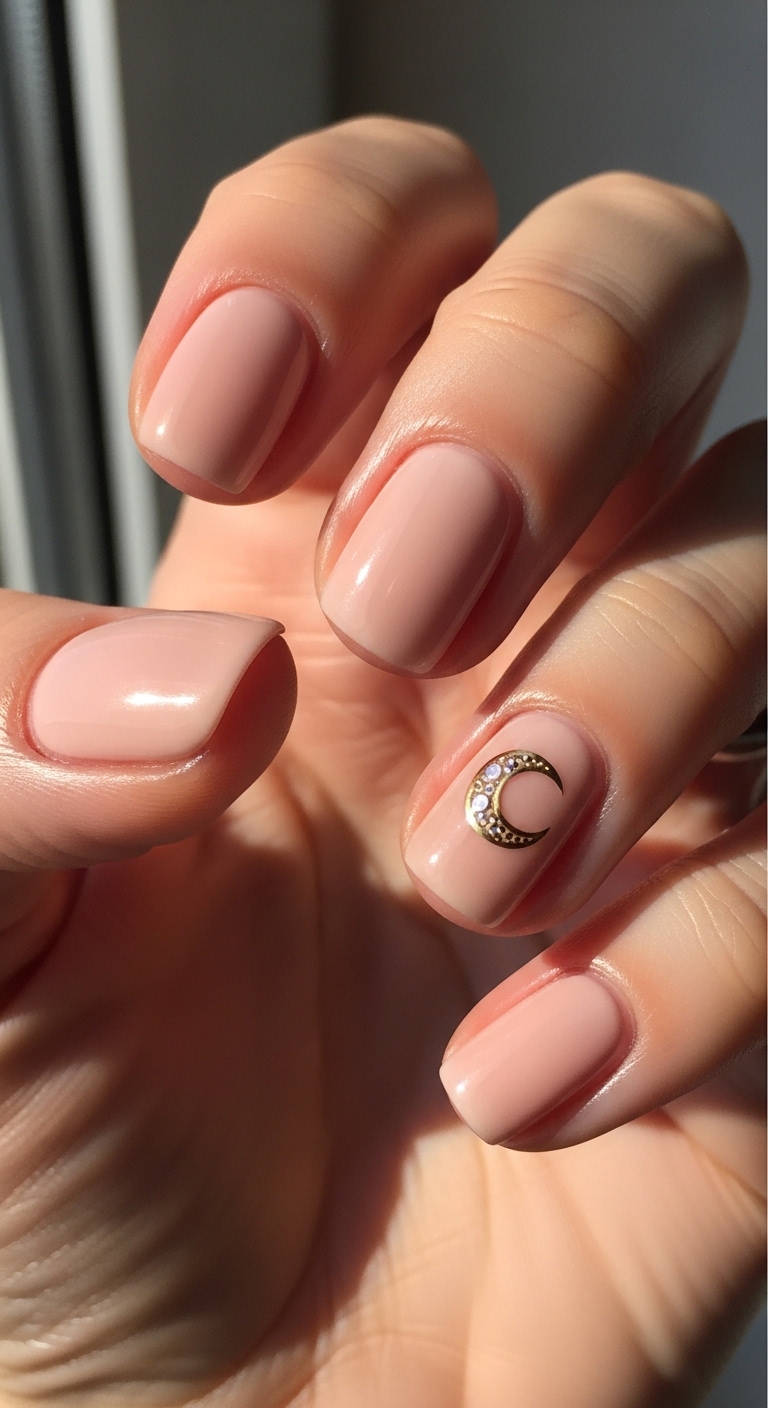
For very short nails, think micro. A character’s face can be simplified to its most recognizable elements:
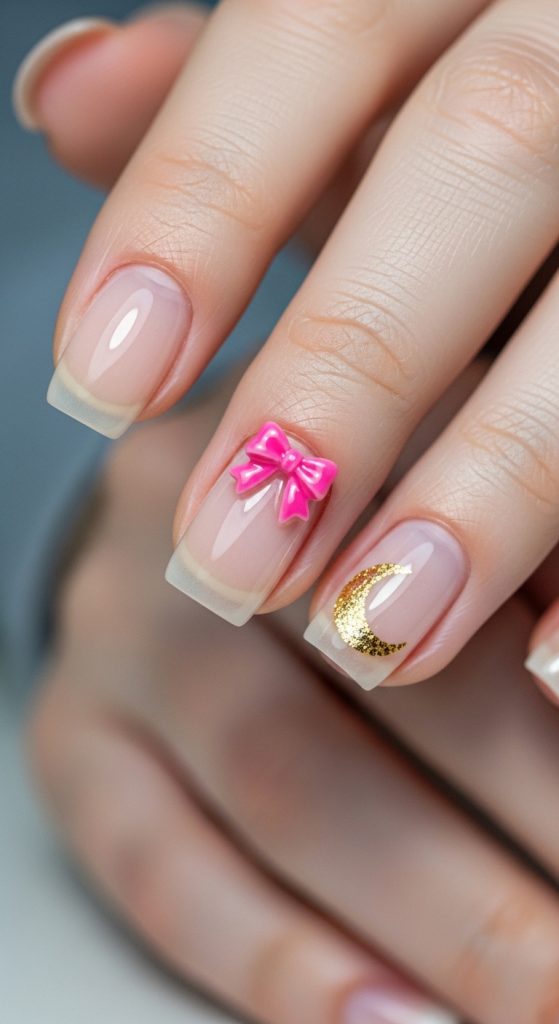
- Sailor Moon: A tiny gold crescent moon
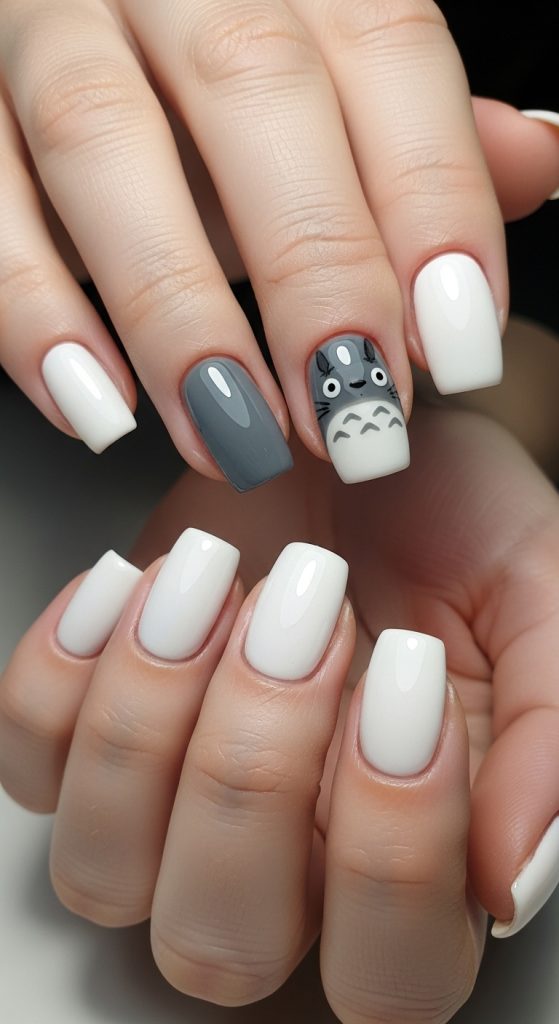
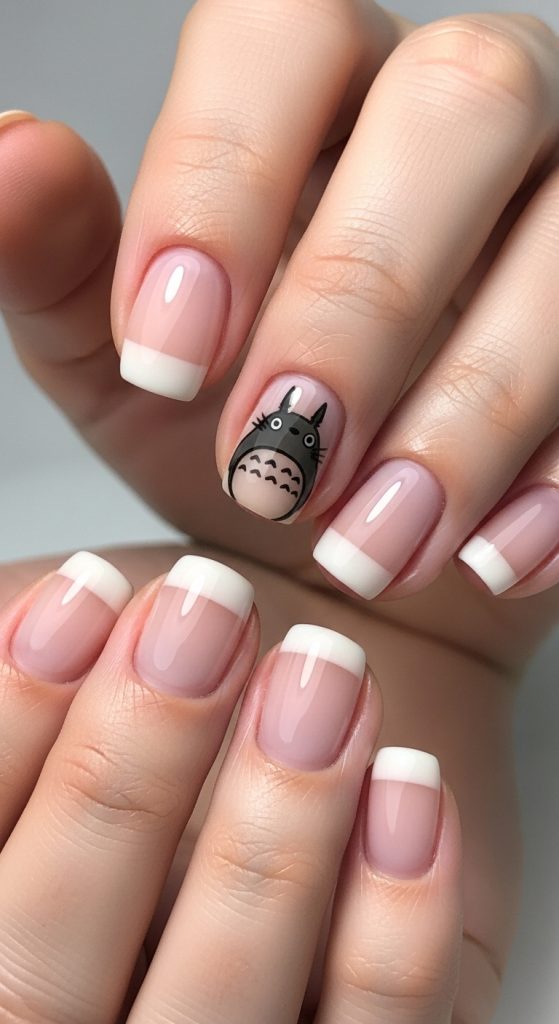
- Totoro: Two gray dots for eyes, one smaller dot for nose
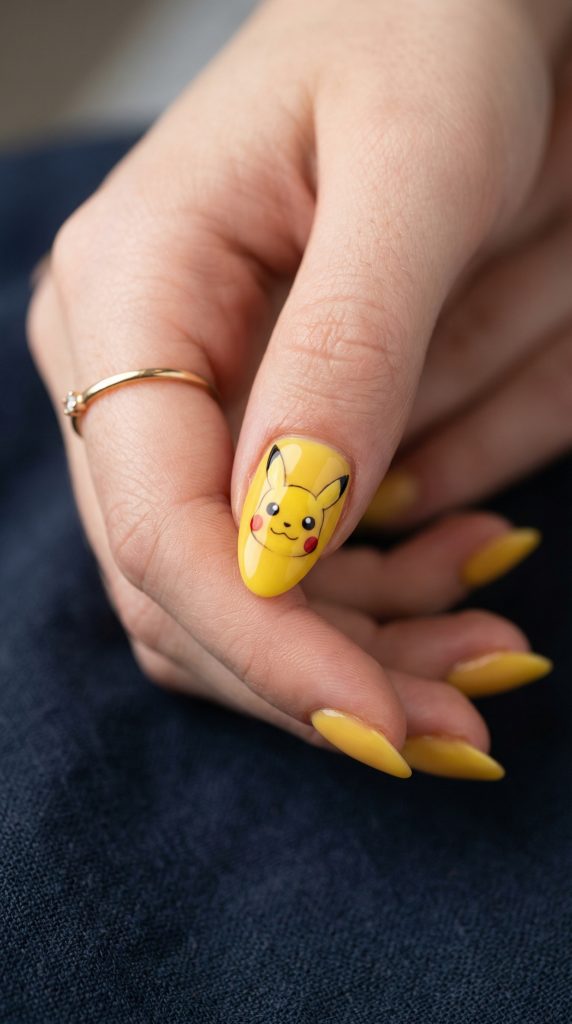
- Pikachu: Two red circles for cheeks, black ear tips
The human brain fills in the rest. You don’t need full detail—just recognizable essence.
Pro Tip Callout Box:
Pro Tip: Use a dotting tool for character eyes and blush. It’s easier than a brush and creates perfect, even circles every time. Start with the smallest dot size and build up.
Character Nail Art Step by Step: Your First Accent Nail
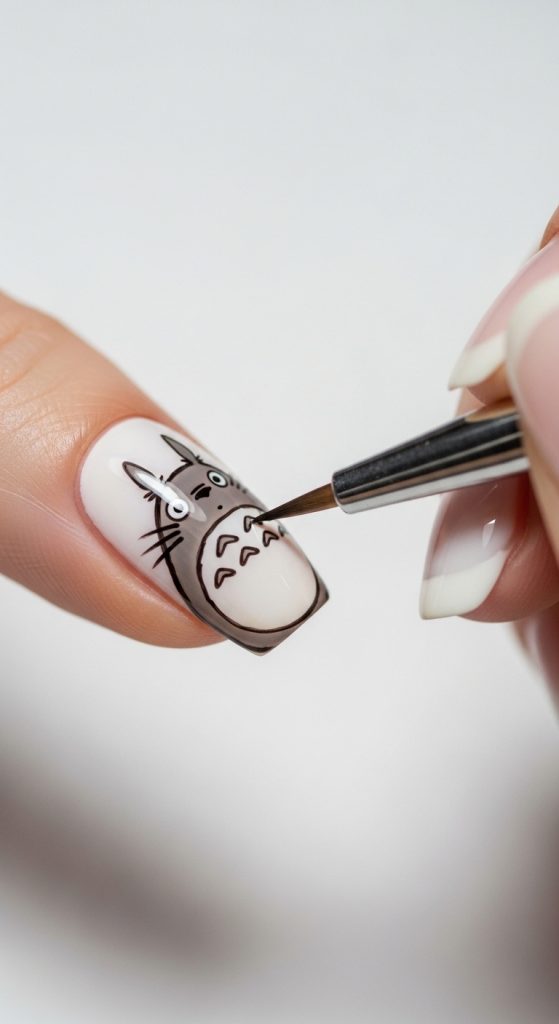
Let’s walk through a character nail art step by step tutorial for beginners. We’ll create a simple, recognizable design that works on short nails: a mini Totoro.
What You’ll Need
- Base coat
- Light gray gel or regular polish (for Totoro’s body)
- White, black, and light blue polish
- Dotting tool (or toothpick)
- Fine-liner brush (size #00 or #0)
- Top coat
Step 1 – Prep and Base
Apply base coat to all nails. For your accent nail, paint a solid light gray base. For the other nails, choose a neutral shade (sheer pink or cream works beautifully).
Step 2 – Create the Body Shape
Using your fine-liner brush, outline a slightly oval shape in the center of the gray nail. Fill it in. This is Totoro’s torso.
H3: Step 3 – Add the Ears
With the same brush, paint two small triangles at the top of the oval. No need for perfect symmetry—character art has charm in slight imperfection.
Step 4 – The Face
Using your dotting tool:
- Two white dots for eyes
- Two smaller black dots inside the white (slightly off-center for expression)
- One tiny black dot for the nose
- A few short white lines on the belly for fur texture
Step 5 – Seal and Shine
Apply a generous layer of top coat to lock in your design. Pro tip: cap the free edge (run the brush along the nail tip) to prevent chipping.
Character Nail Art Easy: 5 Designs Anyone Can Do
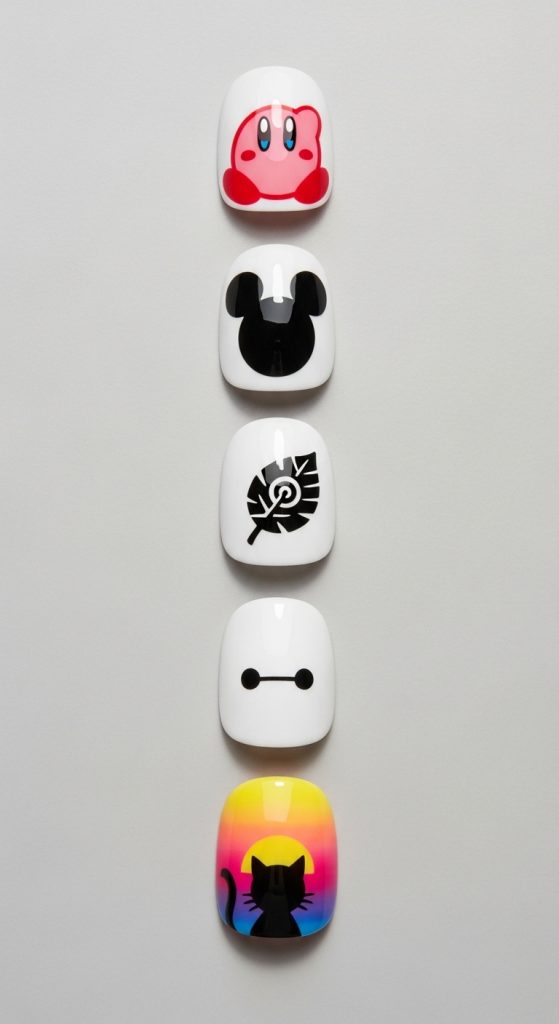
If you’re looking for character nail art easy options, these five designs require only a dotting tool and one or two polish colors.
1. The Emoji Method
- Pac-Man: Yellow circle + black dot for eye + small triangle for mouth
- Angry Bird: Red circle + two white eyes + black pupils + angled eyebrows
- Kirby: Pink circle + two blue eyes + red cheeks
2. Silhouette Style
Paint the entire accent nail in a solid color, then use black to create the silhouette of a character’s head. Think: Mickey Mouse ears, Batman symbol, or a cat from Sailor Moon.
3. Symbol Accents
Instead of a full character, paint their signature symbol:
- Naruto’s leaf village emblem
- Demon Slayer’s kanji
- Harry Potter’s lightning bolt
4. Two-Dot Characters
Many beloved characters can be reduced to two dots and a line:
- Baymax: Two black dots + thin line
- Rilakkuma: Two brown dots + smaller nose dot
- Gudetama: Two eyes + egg-shaped outline
5. Gradient Background + Character Silhouette
Paint your accent nail with an ombré gradient (sunset, galaxy, etc.), then use black polish to paint a simple character silhouette on top.
Character Nail Art Tutorial: Choosing the Right Tools
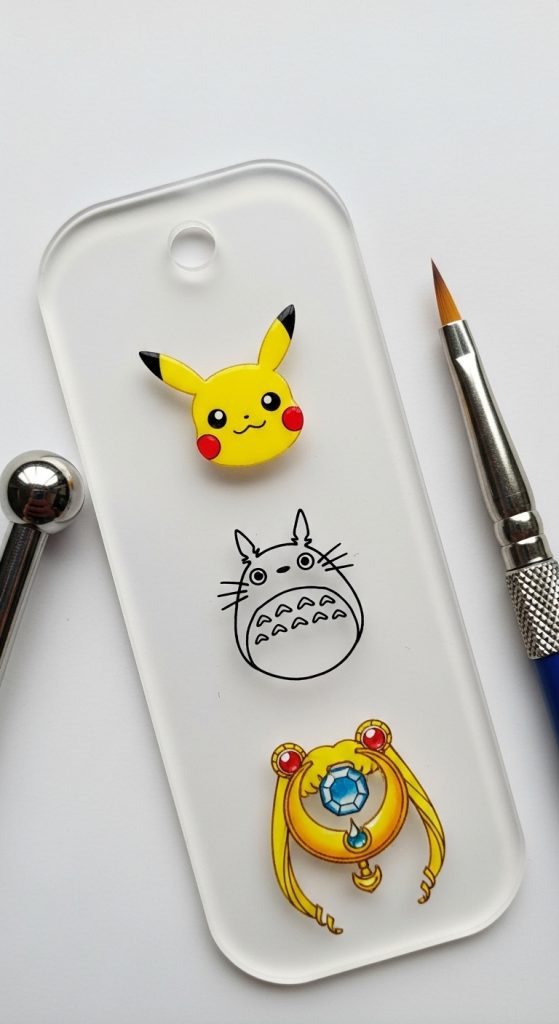
One of the most common frustrations I hear is: “I tried, but my brushes were too thick.” A character nail art tutorial isn’t complete without a tool guide.
Must-Have Tools for Beginners
| Tool | Why You Need It | Budget Option |
|---|---|---|
| Dotting tool | Creates perfect circles for eyes, cheeks, accents | Double-ended metal tool ($5) |
| Fine-liner brush (#00 or #0) | Allows precise lines for outlines and details | Beetles or Makartt brush sets ($8-12) |
| Striping brush | For clean lines, hair strands, or swords | Often included in brush sets |
| Silicone practice mat | Lets you test designs before committing | Reusable, under $10 |
The $10 Starter Kit
You don’t need professional-grade tools to start. A basic dotting tool set, a pack of fine-liner brushes, and a quick-dry top coat will get you through 90% of beginner designs.
How to Do Anime Nails at Home: A Realistic Guide
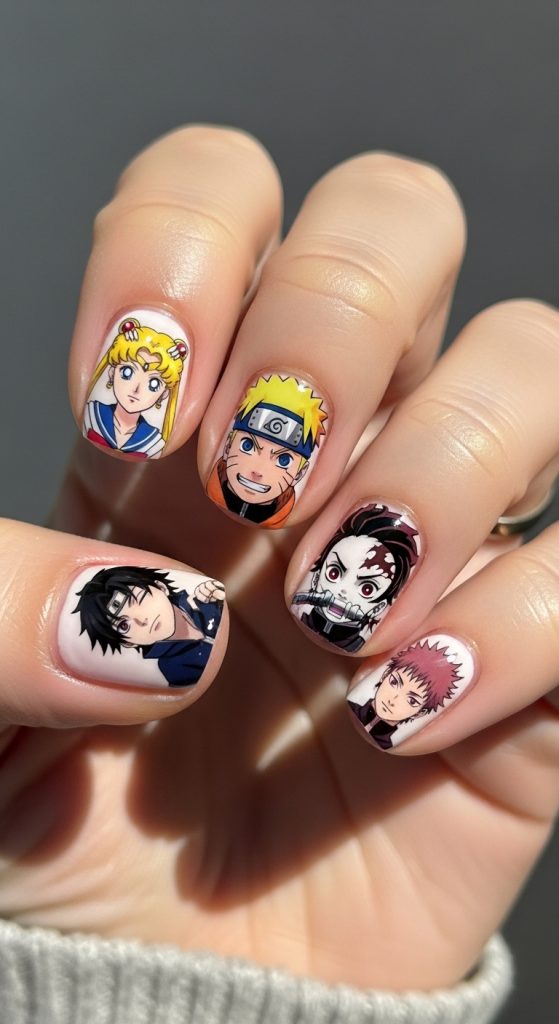
When people search how to do anime nails at home, they’re often hoping for a shortcut. Here’s the reality: you can achieve salon-quality character art at home, but it requires the right expectations.
The Three-Try Rule
Here’s a personal anecdote: my first attempt at painting a Demon Slayer nail was… not great. Tanjiro looked more like a confused potato. But by my third attempt, using a reference photo and the right brush, it actually looked like him.
Expect to practice. Nail artists train for years. Give yourself grace. Paint on a silicone mat first, then transfer to your nail when you’re confident.
Alternative: Water Decals
If painting feels too intimidating, water decals are your best friend. They’re thin, durable, and come in every anime and cartoon design imaginable. Apply them to a solid base, seal with top coat, and they’ll last as long as a painted design.
Pro Tip: Cut the decal slightly smaller than your nail. On short nails, a decal that covers the entire nail can overwhelm the canvas. A small, centered decal looks intentional and clean.
How to Make Character Nails Last
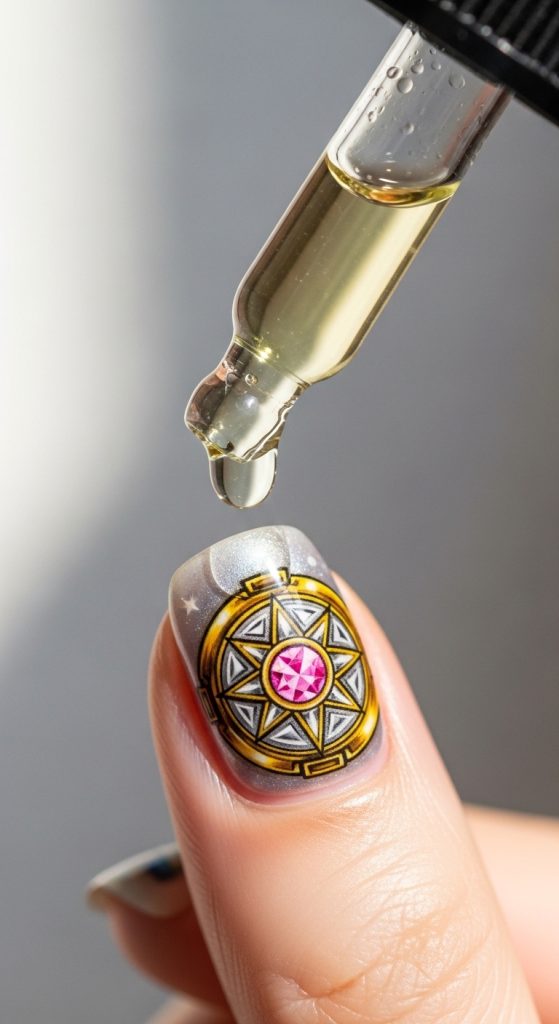
You’ve spent time (or money) on your design. The last thing you want is for it to chip in three days. Here’s how to make character nails last—whether you DIY or go to a salon.
The Gel Advantage
According to a 2025 survey by Nailpro Magazine, gel polish extends the life of nail art by an average of 2.5 weeks compared to regular polish. If you’re serious about character nail art gel is the way to go.
- At-home gel kits: Brands like Beetles and Modelones offer affordable starter kits with LED lamps.
- Salon gel: Ask for hard gel or builder gel as your base—it creates a durable foundation for detailed art.
Maintenance That Matters
- Cap the free edge: Every layer—base, color, art, top coat—should seal the tip of your nail.
- Cuticle oil daily: Prevents the gel from lifting at the edges.
- No acetone on art: Use non-acetone remover if you need to clean up. Acetone will dissolve hand-painted details.
What I Wanted vs What I Got Character Nails: Avoiding the Disappointment
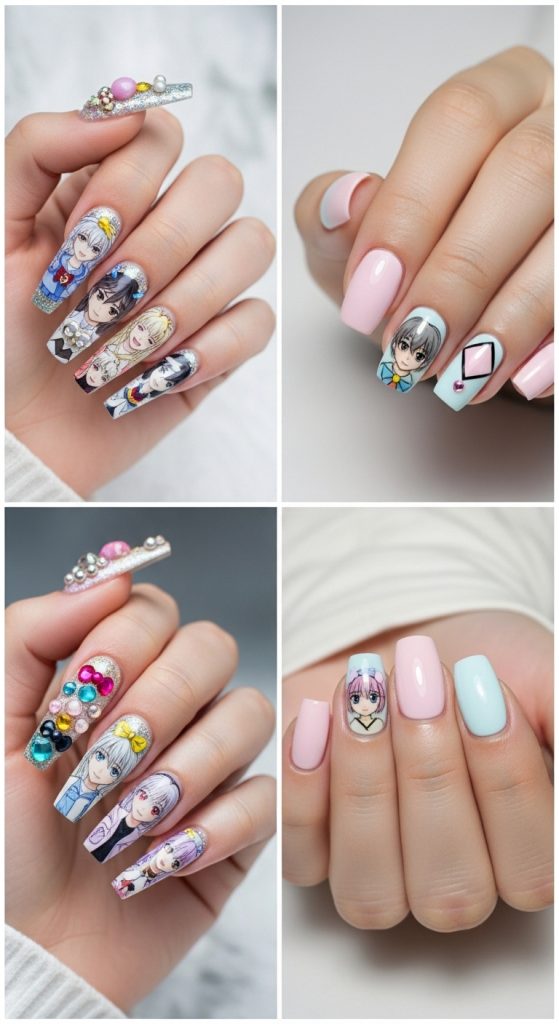
Let’s be honest. We’ve all saved that perfect Pinterest photo, walked into a salon, and walked out with something… different. The search what I wanted vs what I got character nails exists for a reason.
How to Communicate with Your Nail Tech
- Bring reference photos. Multiple angles if possible. A single front-facing photo isn’t enough.
- Discuss placement. Tell them exactly which nail(s) you want the character on.
- Ask about their comfort level. Not every nail tech specializes in fine detail work. It’s okay to ask, “Do you feel confident with this level of detail?” A good tech will be honest.
The “Simple” Clarification
If your tech seems hesitant, ask for a simplified version. A clean silhouette, a symbol, or a decal instead of hand-painted details. You’ll still get the character vibe without risking a design that doesn’t match your vision.
Busting the Myth: “Short Nails Can’t Do Character Art”
I hear this constantly. And it’s simply not true.
Myth: Short nails don’t have enough surface area for detailed designs.
Fact: Short nails actually create a framing effect. When a character design is contained to a smaller space, it naturally draws the eye directly to the art. On long nails, designs can get lost in the length.
Think of it like a photograph. A tightly cropped portrait has more impact than a wide shot where the subject is tiny. Short nails are the tight crop. They make your character art the star, not a background detail.
2026 Trends in Character Nail Art
What’s next for character nails? Based on current data, here are three trends shaping 2026:
1. Negative Space Characters
Instead of painting the character on a solid background, artists are leaving negative space around the design—letting the natural nail become part of the art. This works beautifully on short nails.
2. Micro-Characters
Think smaller than a pencil eraser. Multiple tiny characters arranged across 2-3 nails, creating a “scene” rather than a single portrait.
3. Fandom Color Palettes
Not painting characters at all, but using the color palette of a beloved character across all nails. Example: Naruto’s orange, black, and white across a gradient design.
Your Next Steps: Create Your First Character Accent Nail
Here’s a quick checklist to get started:
- [ ] Choose ONE character you love (start simple)
- [ ] Gather tools: dotting tool, fine-liner brush, base/top coat
- [ ] Practice on a silicone mat or paper
- [ ] Paint your accent nail on the ring finger of your non-dominant hand first
- [ ] Seal with top coat
- [ ] Save your first attempt—in six months, you’ll love seeing your progress
And if you’re ready to explore more nail art techniques, check out our related guide on what is builder gel—it’s a game-changer for creating a strong, smooth base that makes character art application infinitely easier.
Conclusion: Your Short Nails Are Ready
Character nail art isn’t reserved for long nails or professional artists. It’s for anyone who wants to carry a little personality with them every day. And on short nails? The effect is actually more intentional, more wearable, and often more charming.
So go ahead. Paint that tiny Totoro. Add those Pikachu cheeks. Let your fandom show—one accent nail at a time.
Which character are you going to try first? Drop it in the comments—I’d love to know what you’re creating.

Skilled content writer with more than five years of experience.